Hanging non-woven wallpaper — how to do it yourself
· BlueStork
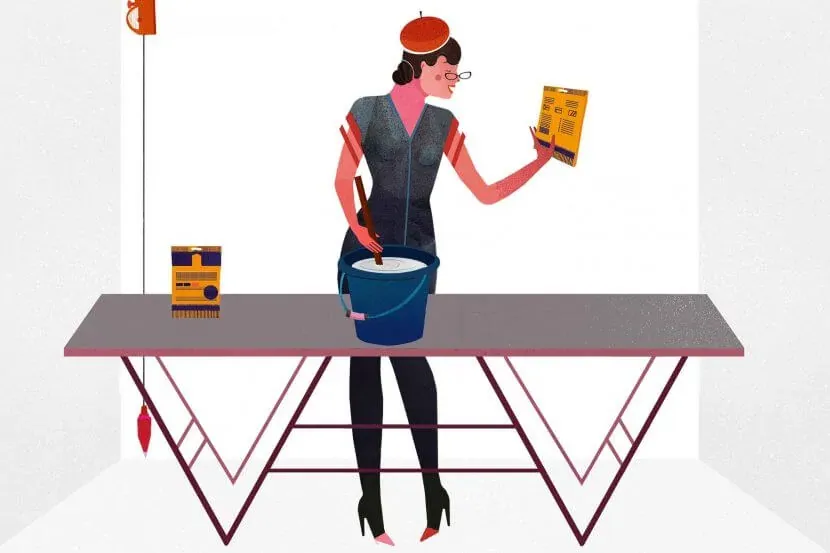
Of all the kinds of wallpaper, non-woven is the most forgiving to hang yourself. The paste goes on the wall rather than on the paper, and the paper does not stretch or tear easily. Even so, plenty goes wrong — almost always in the preparation, rarely in the hanging itself.
What you need
- non-woven wallpaper, measured generously
- wallpaper paste for non-woven paper
- a bucket and a roller or brush to apply the paste
- a pasting table — a kitchen table is too short and you will cut it to pieces
- a sharp knife with snap-off blades, and spare blades
- a tape measure, a pencil and a long straight edge or spirit level
- a wallpaper brush or smoother to work the air out
- a seam roller
- a clean cloth and a second bucket of water
The pasting table is the one purchase that is genuinely worth it. Cutting on the floor costs you the floor and the straight line.
The wall first
This is where it is decided. The wall has to be dry, clean, flat and absorbent.
- Take old wallpaper off completely. Pieces left behind will show through later.
- Fill holes and cracks, let the filler dry and sand it smooth.
- Take the dust off with a slightly damp cloth.
- If the wall is very absorbent or freshly plastered, prime it first.
A wall that draws in one spot and not in another gives shiny and matt patches straight through the paper. You only see it once it is dry.
Step by step
Measure and cut. Measure the height and add five to ten centimetres for the top and the bottom. If the paper has a pattern, allow for the repeat and cut the lengths to match each other.
Mark a plumb line. Do not start in a corner — corners are almost never straight. Mark a vertical line about one width away from the corner and hang the first length against it.
Paste the wall, not the paper. Apply the paste generously over a little more than one width.
Hang the length. Top to bottom, with a little to spare. Work from the middle outwards with the wallpaper brush or smoother, so the air and the surplus paste go out.
Trim. Press the paper into the angle at the ceiling and at the skirting and cut along a smoother. Change the blade often — a blunt blade tears wet paper.
Roll the seams. Butt the lengths against each other, not over each other, and roll the seam lightly.
Wipe paste off at once. Paste on the face dries into shiny patches. A clean, slightly damp cloth, and do it straight away.
Where it usually goes wrong
Starting too soon. Filler that is not dry yet, or dust on the wall — both come back in the finished result.
Starting in the corner. The first length then goes in crooked, and that crookedness runs on through the whole room.
Overlapping seams. Non-woven paper belongs tight against its neighbour, not on top of it.
Doing a ceiling alone. That is the moment you need a second pair of hands.
How long it takes
Reckon on roughly one room a day if you do it yourself, preparation included. The hanging goes faster than you expect; stripping the old paper and making the wall good takes the most time.